So you want to make pullout posters using Broadsheets or Tabloids
We often get asked the question “can I make pullout posters from Broadsheets or Tabloids… and if so how?” To some of you, this may be a question that never popped into your mind, to others you may have no clue what we’re talking about. Well, we thought it would be handy to answer the key questions and explain the best way to set up your artwork. With any luck, we can inspire you to try out this nifty technique and start creating your own beautiful pullout posters.
What are pullout posters?
Because newsprint isn’t stitched (stapled) down the spine. A pullout poster is essentially a section of the publication that readers can remove, unfold and use as a large poster.
Traditionally the centre spread is the best place to do this as it’s obvious to the reader and you can see the whole poster without pulling apart the publication.
Another favourite location is across the inside front and back cover pages, meaning you can remove the cover and have an awesome poster on the reverse!
Of course, it doesn’t just stop there, some people go the whole hog and make pullout poster spreads across every sheet, and in honesty, we think this is really neat!
I’m Sold, now how do I set up my artwork?
Your artwork still needs to be supplied to us in the same format (single page .pdf) so saving your .pdf as spreads and trying to upload them just doesn’t cut it.
The easiest way to get your head around the concept is pretty simple and only involves some A4 sheets of paper and a pen. So here it goes, follow our 5 simple steps to success.
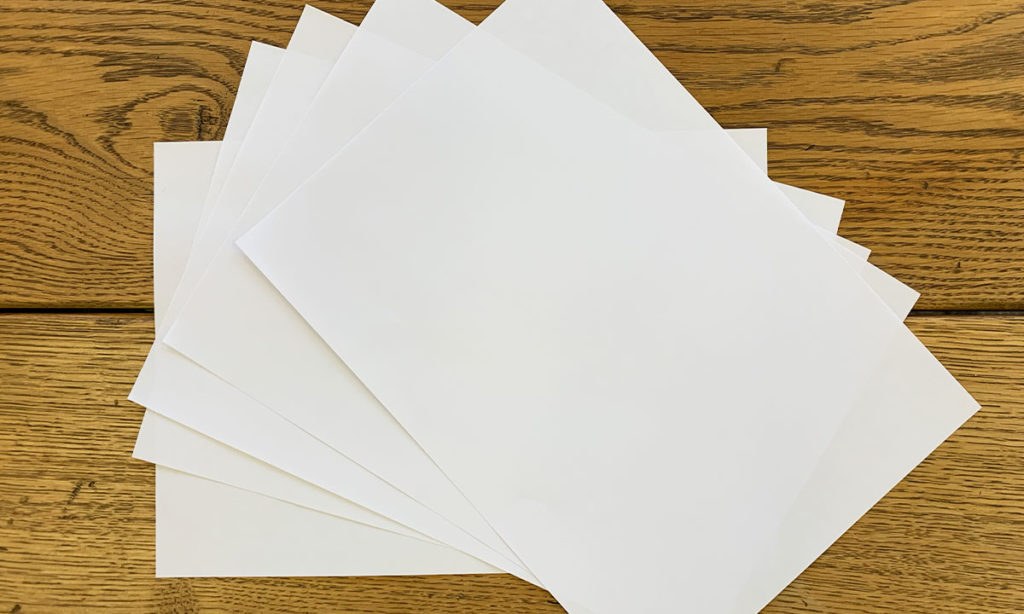
Step 1
Decide on the number of pages you want your publication to be and select the appropriate amount of sheets of A4 paper. Eg. for a 20 printed page publication you would require 5 sheets of A4, stacked and folded in half. This would mean the maximum amount of posters you could have would be 10 (double sided) or 5 (single sided).
Side note: Doing this process will also make it obvious to people who have always wondered why we ask for page multiples of 4.
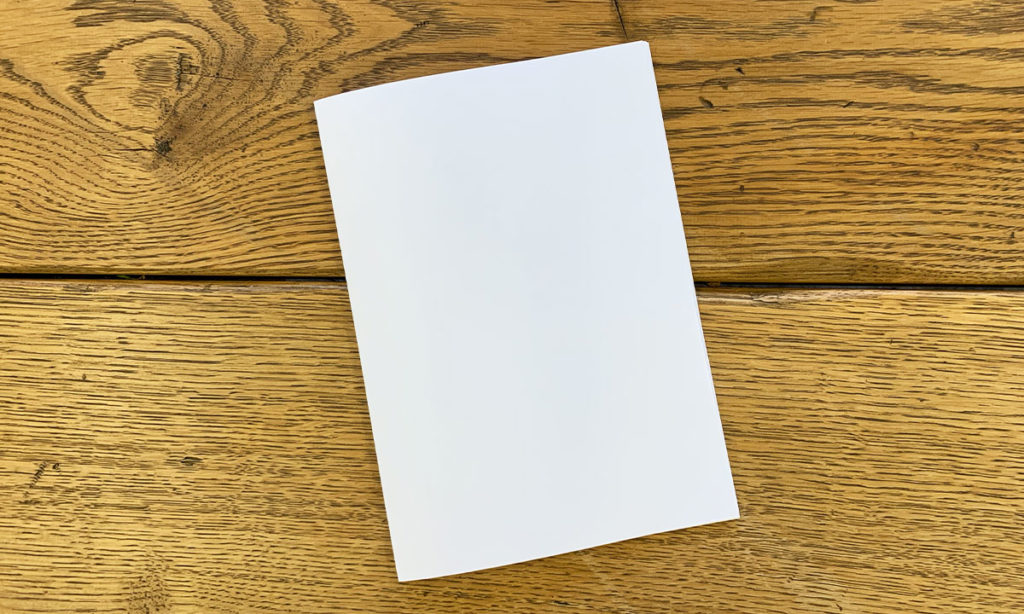
Step 2
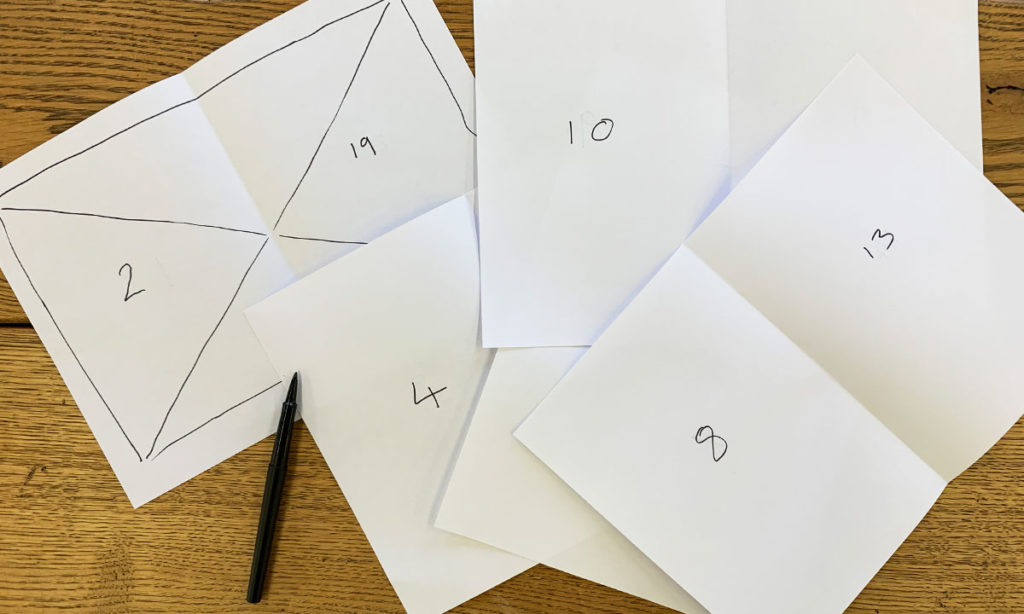
Now that you essentially have an A5 version of your 20-page publication we need to number each page. Using your pen number each page in order. We personally find it easier to put a large page number slap bang in the middle of the page, but you may want to sketch out some spread designs while doing this, we’ll leave that bit up to you!
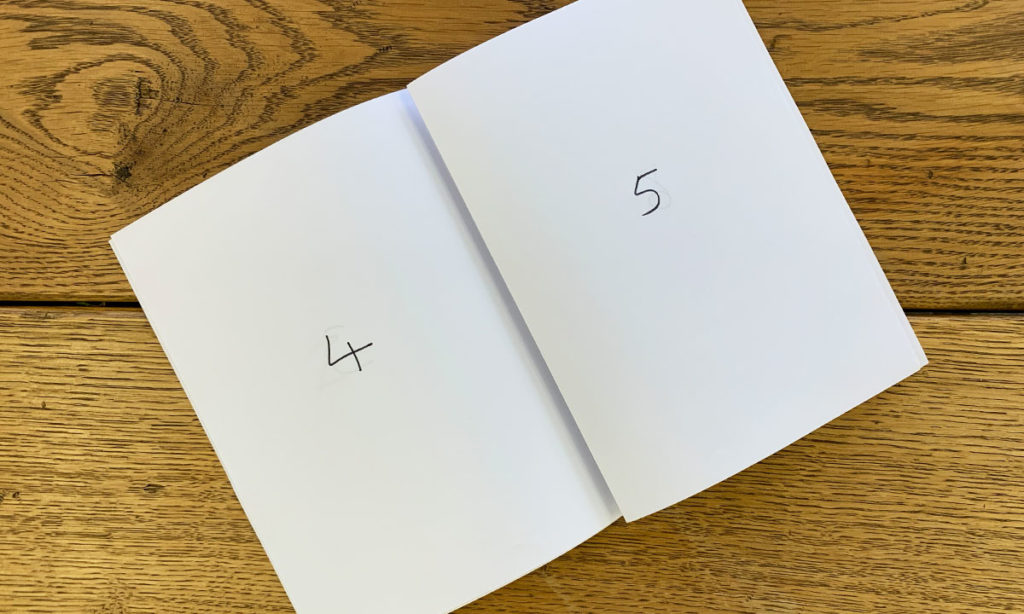
Step 3
You should now have a loosely bound publication with a running order of page numbers. The next step… take it apart! By laying each sheet out in front of you it’s now obvious to see which two pages make up a single spread.
In this case, you can see the page pairings for your pullout posters would be; 1-20, 2-19, 3-18, 4-17, 5-16, 6-15, 7-14, 8-13, 9-12, 10-11.
Step 4
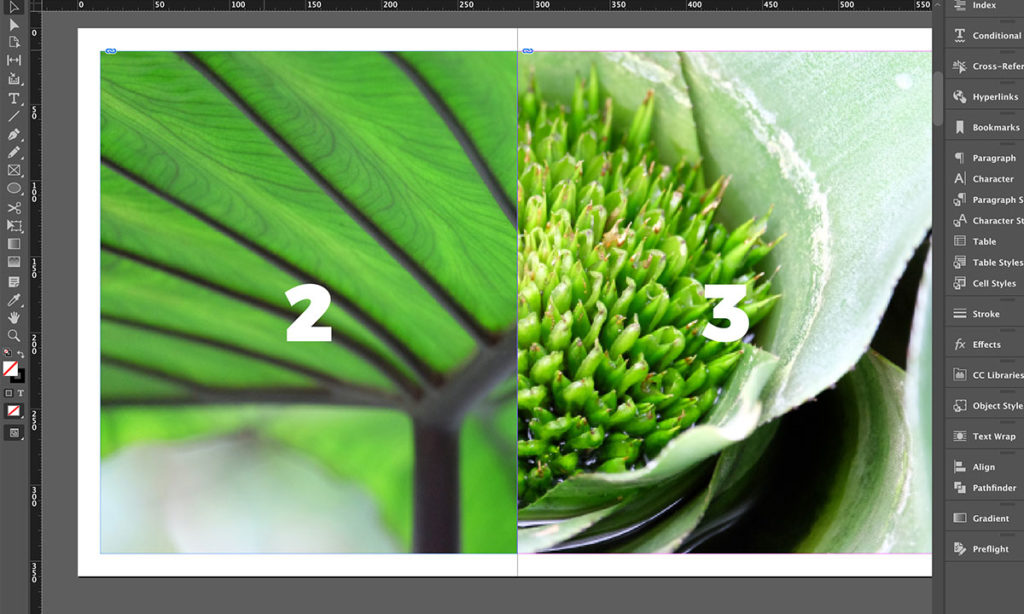
Using your favourite design tool (we will be talking from the perspective of using InDesign) you can start to lay out your spreads. Knowing what you now know about how the pages will sit, you can essentially cut your poster artwork in half placing each half of the artwork on the corresponding page number. Eg. to create a poster on the inside covers you would place half the artwork on page 2 and the other half on page 19 ensuring it runs up to the spine.
Step 5
Well now you have an InDesign file that doesn’t make perfect sense when you see it on screen but as soon as you print it, that’s when the magic happens. Now upload your artwork and voila you are left with a series of pullout posters!
Conclusion
Hopefully, this helps you to not only understand how to make the most of the technique but to also appreciate how each page sits across each folded sheet.
Using this technique of mapping out your pages also helps with alignment issues when printing double page spreads across pages that don’t sit on the same sheet of paper and makes it easier to understand why this happens.
So is there anything else I should know?
For our digital print techniques, this works a charm. If you have decided to move up to the big leagues and print with large volumes it’s always best to have a chat with us first. Printing litho runs in this way involves using different types of plates and can sometimes only be done on certain spreads.
The moral of the story, if you ever have any questions about your artwork, please get in touch!
We hope this brief tutorial helped, happy printing…

